Automating Play Store screenshots in Flutter
From a raw screenshot to the Play Store
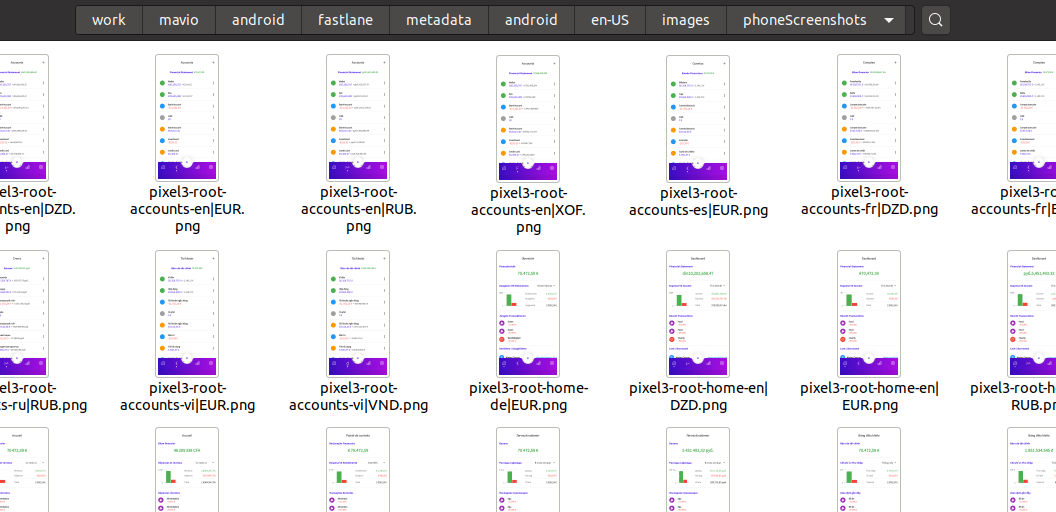
After adding support for seven languages to my personal finance app, I very quickly discovered that making Play Store screenshots manually was just unworkable anymore. Every locale needs five or six screenshots and each screenshot needs to be in the right language. Additionally, I would have to do all of this tedious work again whenever I change anything significant to one of the views, some automated solution was necessary.
Automating screenshots
I used the Flutter “screenshots” package. To generate better screenshots, I used a demo SQLite database full of random transactions and I also fixed the clock time for the financial statistics pages to look similar months after months.
1
2
Config.clock = Clock.fixed(DateTime.parse('2019-06-07T04:34:10.958Z'));
Config.dbFilename = "https://.../demo.db"; // remotely fetching a demo database
The database is then downloaded at boot, copied into the application folder, this configuration clock is used everywhere time is gathered on the app.
1
static const supportedLanguages = ["en", "fr", "ru", "vi", "de", "es", "pt"];
The screenshot script then boots the application, loops into each supported language and supported currency per language, goes into each screen and creates a screenshot. The whole operation takes about 5 min for the 70 screenshots to generate.

Making those screenshots look better
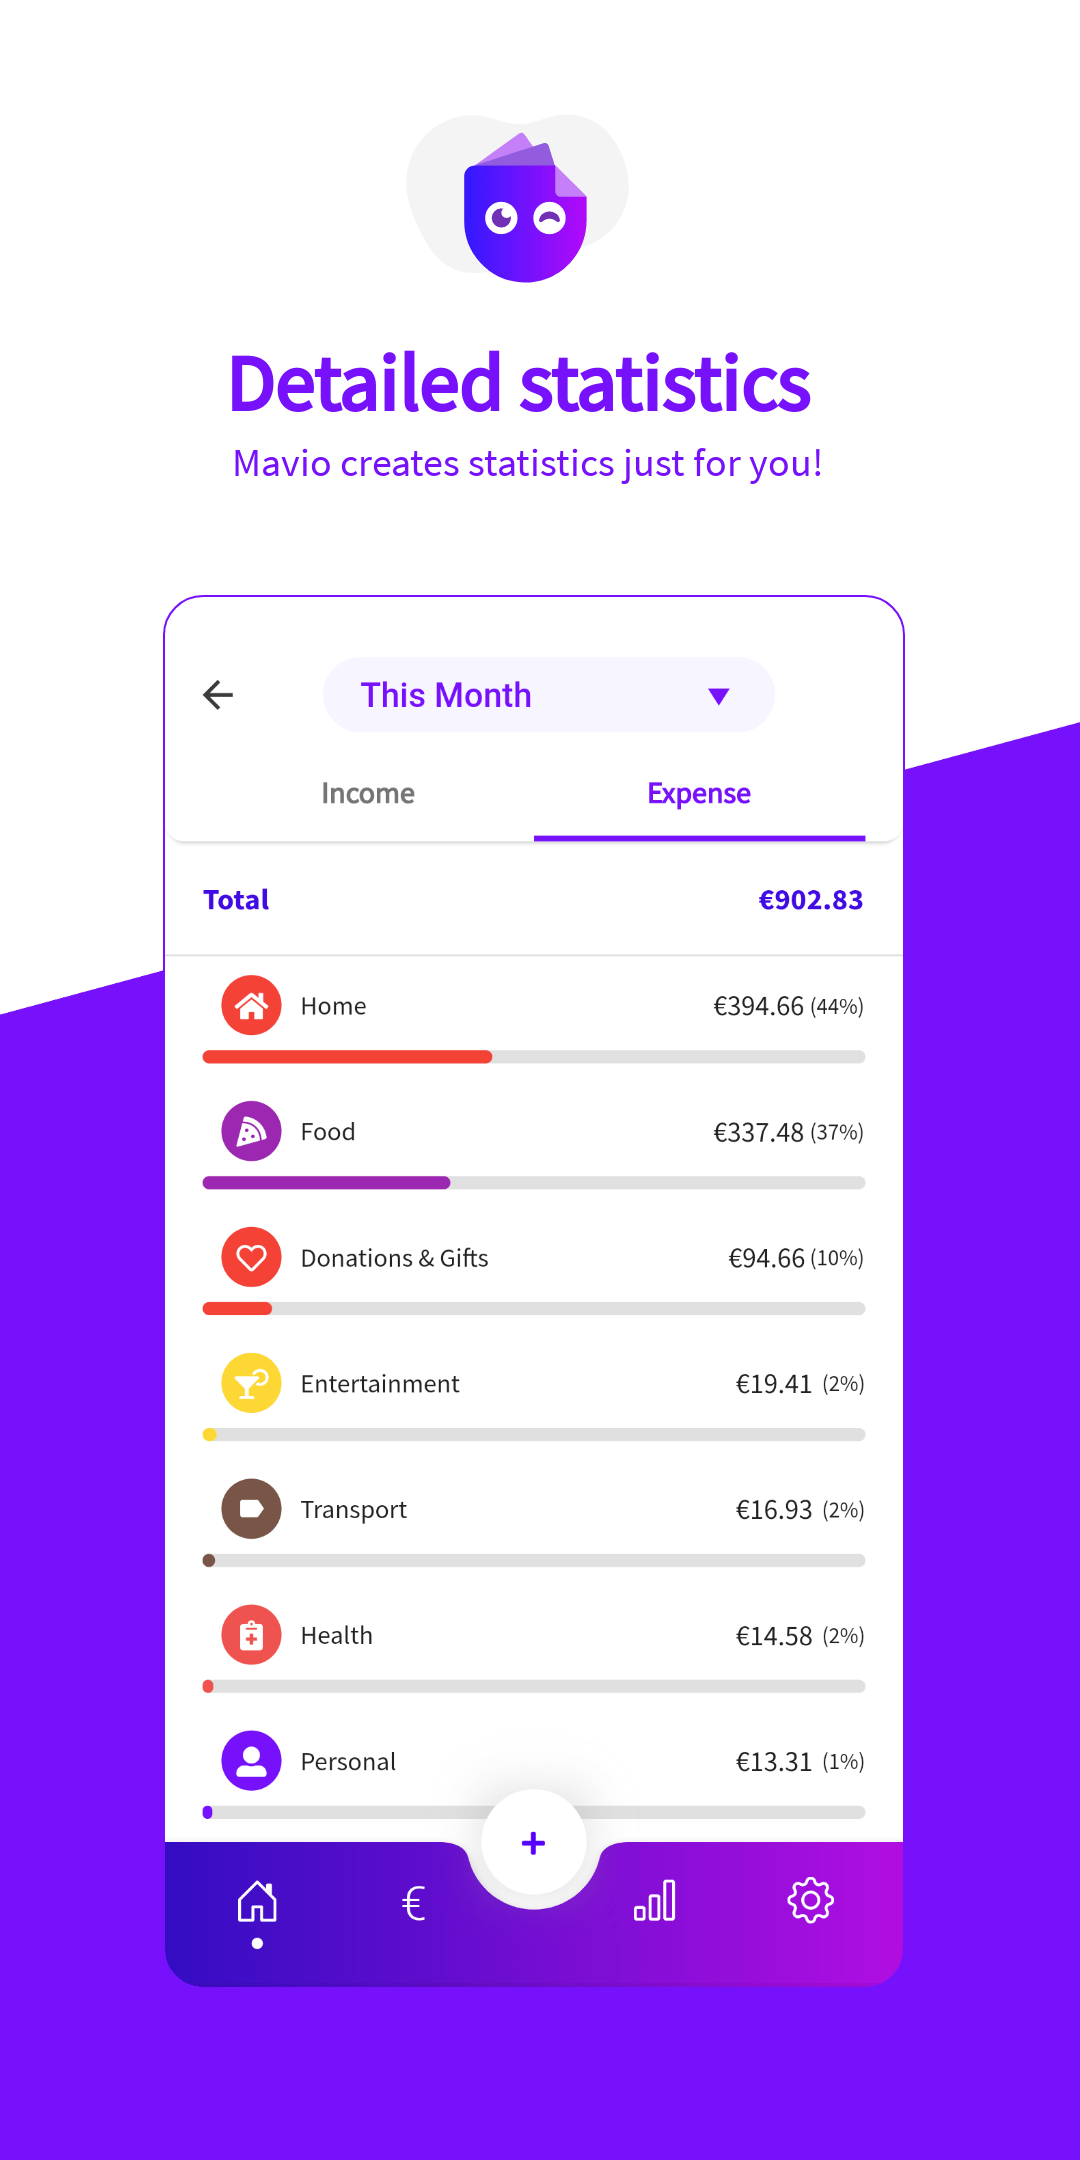
I’ve created a second script which then takes the raw screenshots and transforms them into something nicer. Using a headless browser was a quick and easy option.
It was very easy to generate the kind of appearance I wanted by changing a few lines of css and the dynamic items (like the i18n text and the capture) could be replaced at runtime.
1
2
3
4
5
6
7
8
9
10
11
12
13
14
15
16
17
18
19
20
const browser = await puppeteer.launch({ headless: true });
const page = await browser.newPage();
const screenshotDirectory = path.resolve(`${__dirname}/../../android/fastlane/metadata/android/en-US/images/phoneScreenshots/`);
var files = fs.readdirSync(screenshotDirectory);

// ...
await page.goto(`file://${__dirname}/featuredView.html`);
// ...

for (var i = 0; i < files.length; i++) {
  const file = files[i];
  // ...
  await page.evaluate((screenshotDirectory, file, title, content) => {
      document.getElementById('screen_title').innerHTML = title;
      document.getElementById('screen_content').innerHTML = content;
      document.getElementById('main-image').style.background =
          `url(file://${screenshotDirectory}/${file})`;
  }, screenshotDirectory, file, i18nTitle, i18nDescription);
  await element.screenshot({ path: `generated/${file}` });
}
I’ve removed a few boring parts of loading the locale JSON files and plumbing logic which isn’t really that interesting but you get the idea.
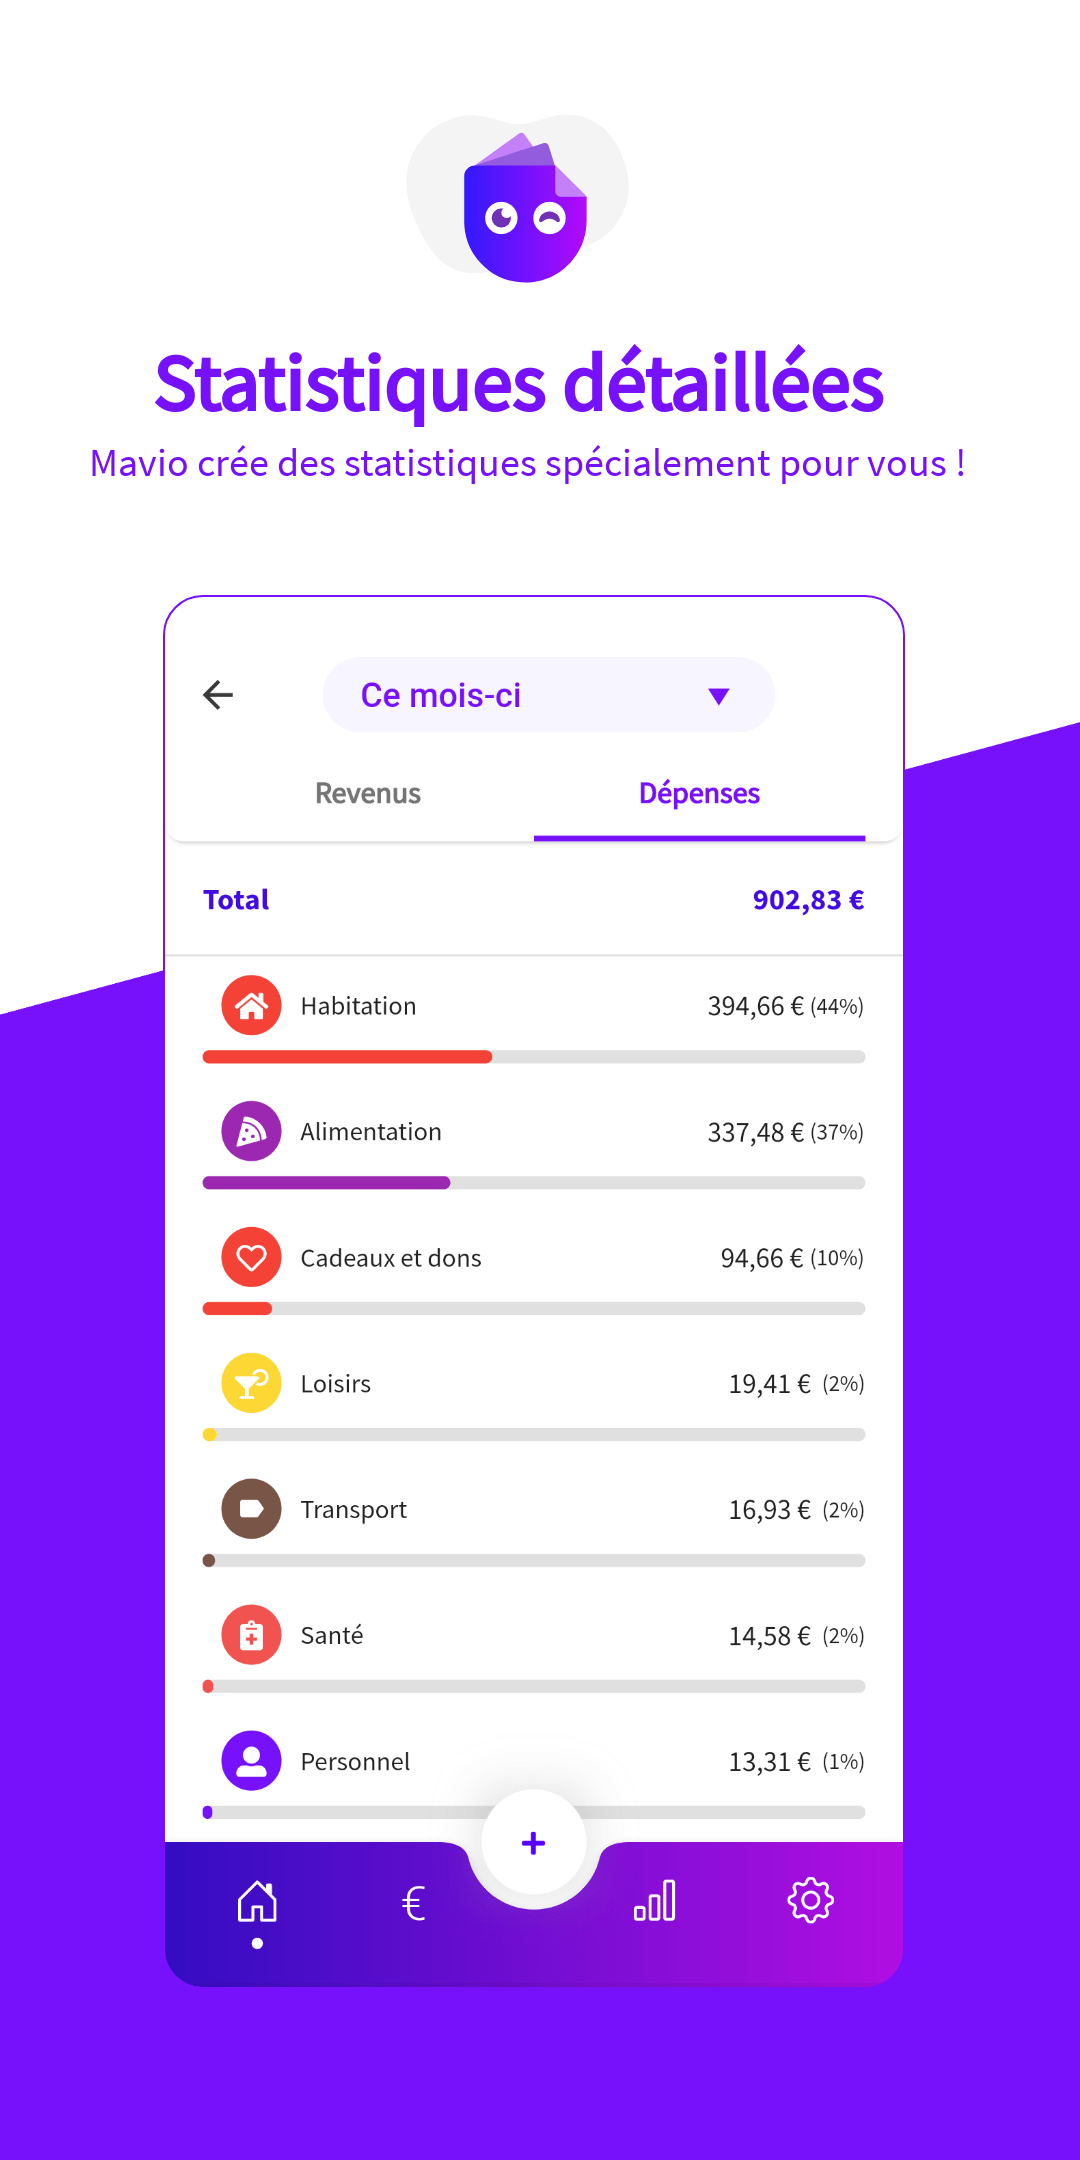
And now the result we were waiting for…


Sending all those screenshots to the Google Play Store
Uploading those screenshots to the Play Store is also a tedious task by itself, you need to go to each locale and add the screenshots one by one, I was sure we could do better.
Google provides an access to the Google Play Store api, although it’s much more limited than the actual Play Store in the browser, it’s good enough for my needs.
1
2
3
4
5
6
7
8
9
10
import { google } from 'googleapis';

const packageName = "fr.mavio";
const androidpublisher = google.androidpublisher("v3");

const auth = new google.auth.GoogleAuth({ scopes: ['https://www.googleapis.com/auth/androidpublisher'], });
const authClient = await auth.getClient();
google.options({ auth: authClient });

const { id: editId } = (await androidpublisher.edits.insert({ packageName })).data;
Now we’ve connected to the Google API and created a draft version (called “edit”) of our data. This API works in two steps, you make all the changes you want to the edit and then you commit the new data, similar to source control.
It’s now time to actually send the screenshots.
1
2
3
4
5
6
7
8
9
10
11
12
13
14
15
16
17
18
19
20
21
22
23
24
25
26
27
28
29
30
31
32
33
34
import * as fs from 'fs';

const googleLanguageToMavioMapping = {
    'en-US': 'en',
    'fr-FR': 'fr',
    'ru-RU': 'ru',
    'pt-PT': 'pt',
    'es-ES': 'es',
    'de-DE': 'de',
    'vi': 'vi',
};
const screenPath = `${__dirname}/../store-screenshots/generated/pixel3-root-`;
for (let language in googleLanguageToMavioMapping) {
    let file: fs.ReadStream;
    const mavioLanguage = googleLanguageToMavioMapping[language];
    var screens = ['accounts', 'stats', 'transaction', 'home', 'statspage'];
    for (var i = 0; i < screens.length; i++) {
        let type = screens[i];
        console.log(`uploading ${type} image screenshot for ${language}`);

        let currency = defaultCurrencyForLocale[language] || 'EUR';
        file = fs.createReadStream(`${screenPath}${type}-${mavioLanguage}|${currency}.png`);
        await androidpublisher.edits.images.upload({
            editId,
            packageName,
            language,
            imageType: 'phoneScreenshots',
            media: {
                mimeType: "image/png",
                body: file
            }
        });
    }
}
A few minutes of file upload later…

Here you go! All the captures for all the locales are now on the Google Play Store.
Conclusion
Automating screenshots generation for my app was a fun project. Doing everything manually becomes impossible when you support a few languages. Another benefit of the automation is that I can keep the Play Store up to date with any change I’m making in the app.
That happened to me once already, I’ve redesigned one of the statistics pages. Instead of spending a few hours to make the screenshots again for this page for each locale and currency, I’ve just ran the tools and everything was up to date once again!


